Procedure
1. Access the Portfolio Tab
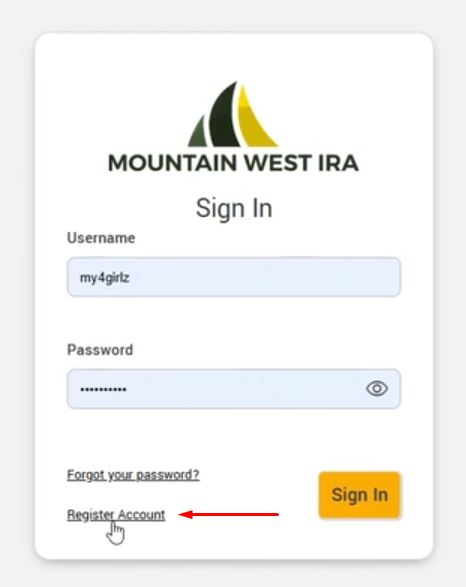
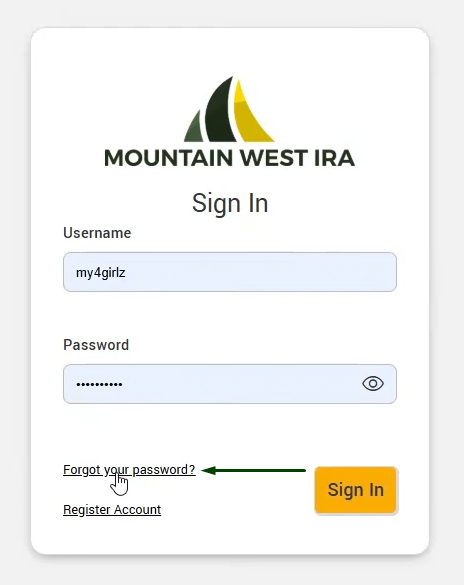
- Log in to your MWIRA client portal.
- Click the Portfolio tab to open your portfolio overview.
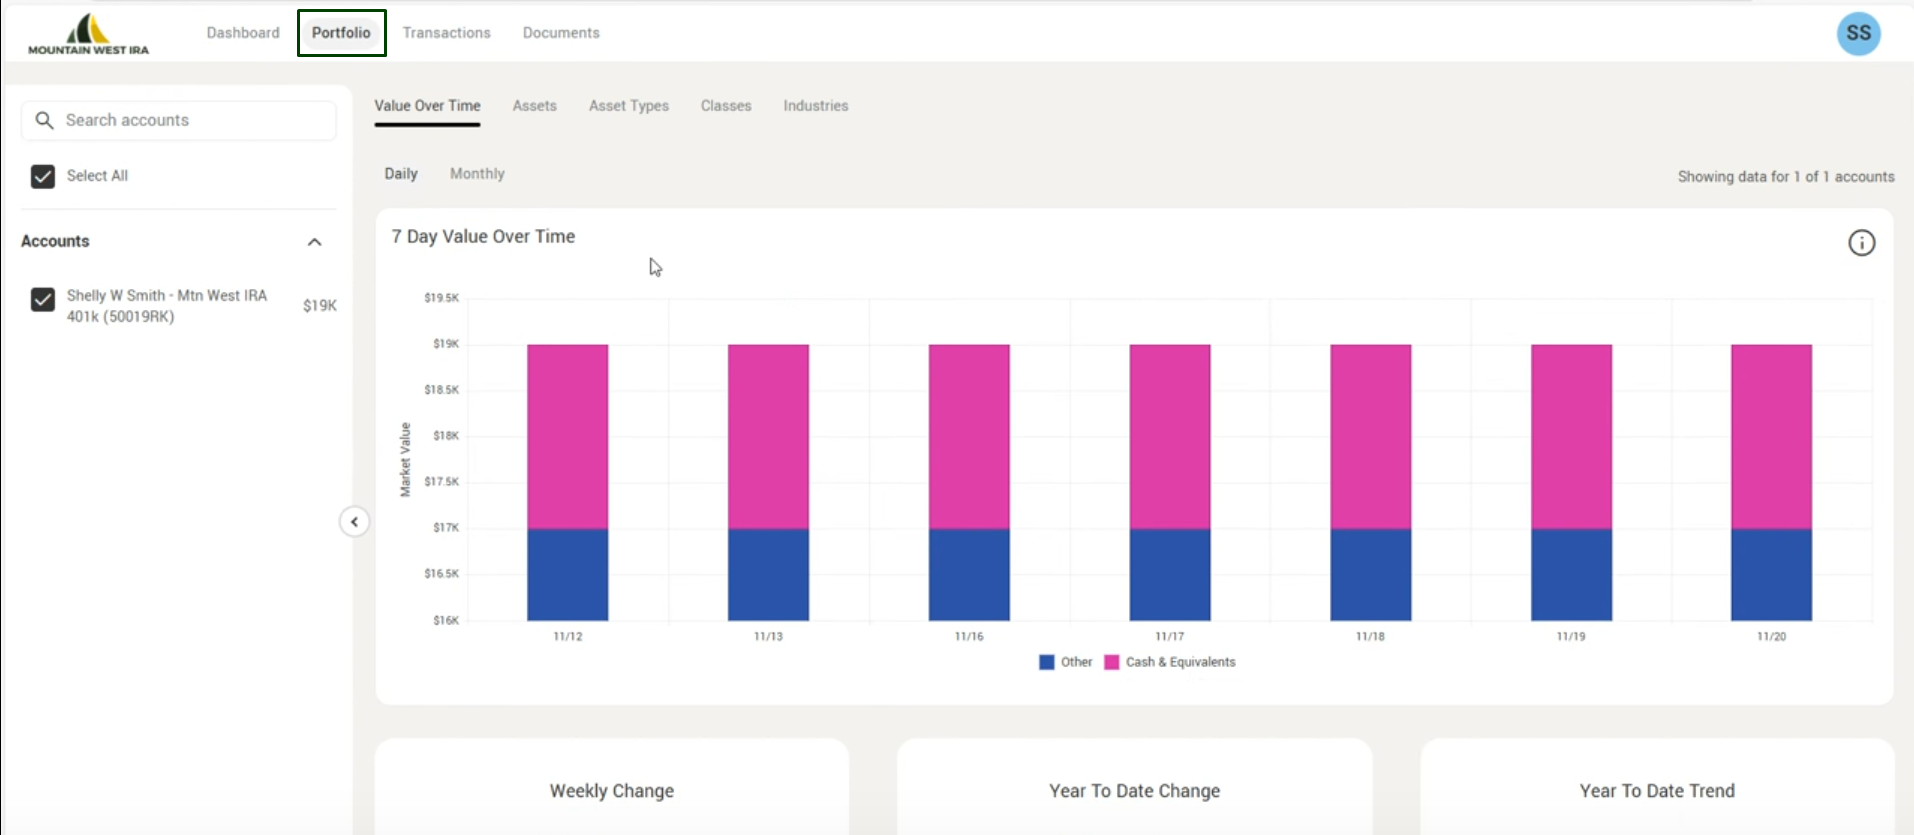
2. View Value Over Time
- The main screen shows Value Over Time, which tracks how your account value has changed.
- Switch between Daily or Monthly views.
- Review the performance breakdown below, including:
- Weekly change
- Year to date change
- Overall account trend

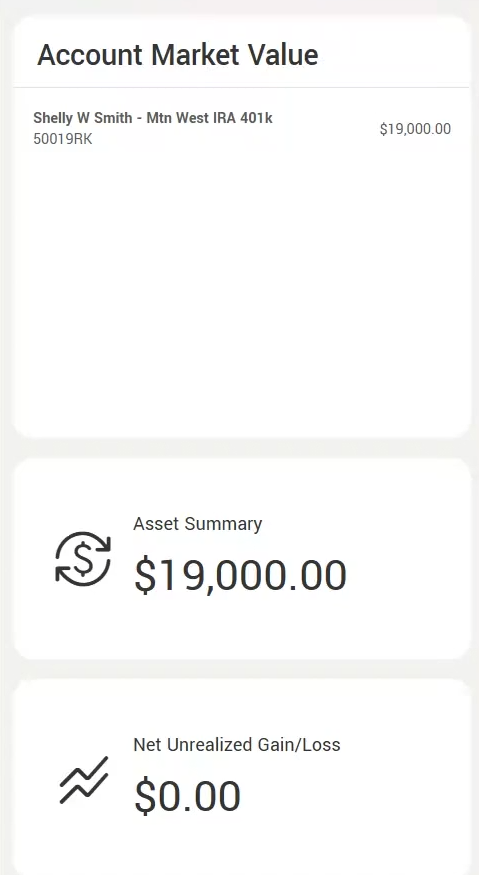
3. Review Asset Breakdown
- Click the Assets tab to see a summary of cash and current assets held in the account.
- The main screen displays a Top 10 assets list.
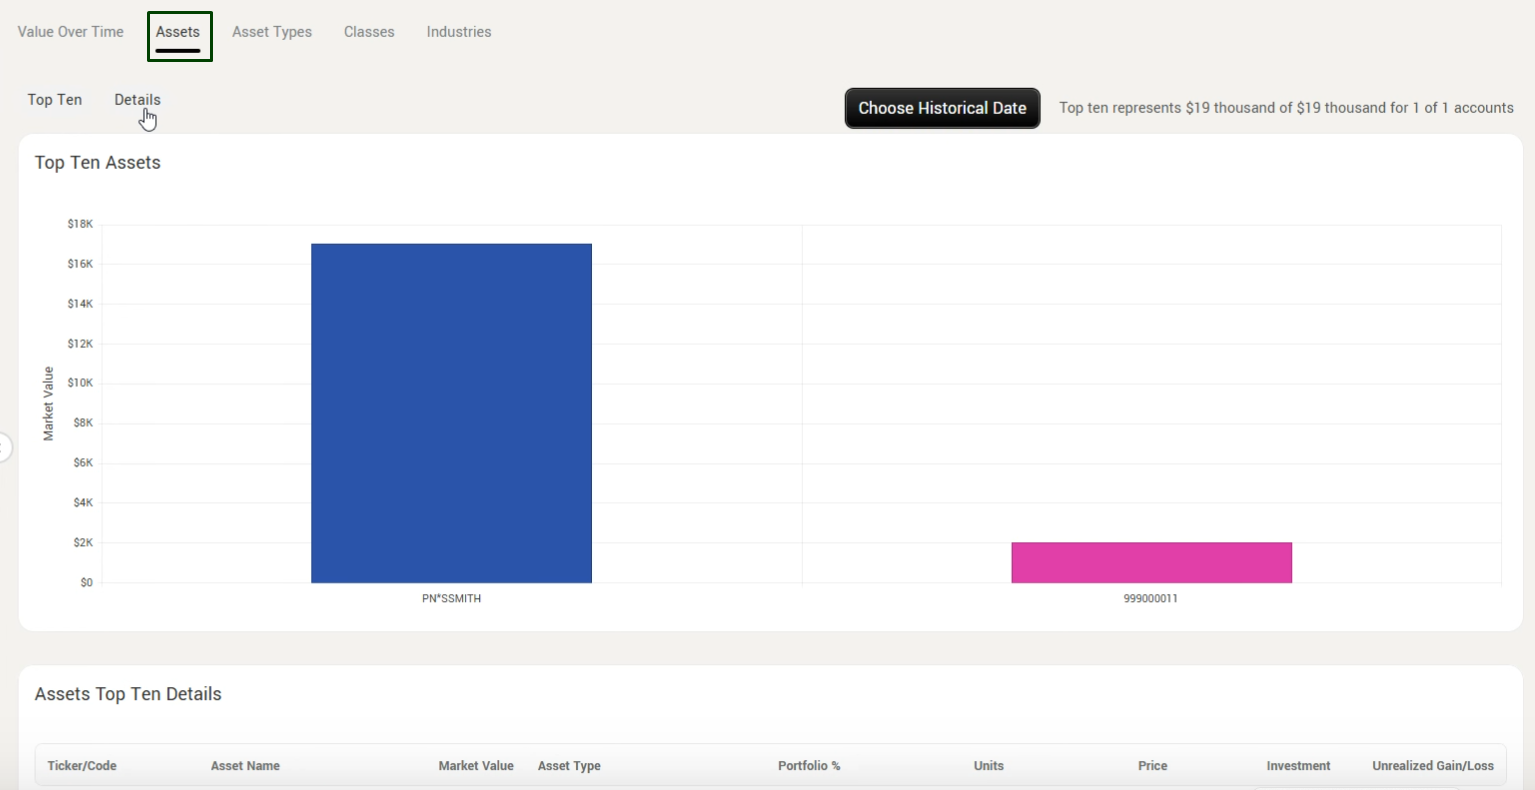
4. Access Detailed Asset Information
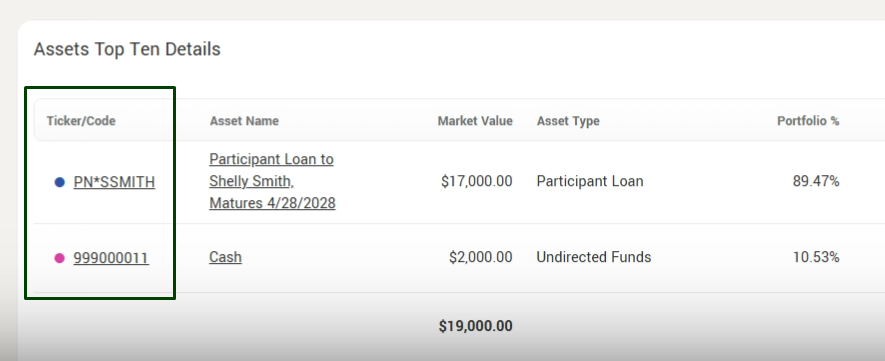
- Select the Detail tab for full portfolio details, including:
- Account name
- Asset type
- Percentage of the portfolio
- Asset name booked to the account
- Current units invested

5. View Asset Codes
- From the main Portfolio screen, locate the asset code used when the asset was booked.
- Use this code for reference when communicating with MWIRA about specific holdings.
6. Explore Remaining Tabs
- Additional tabs provide similar asset breakdowns and views for deeper analysis.
- Review these sections as needed to understand how each asset contributes to your portfolio.